You may find that your jet ski has a seized engine, especially after a long period without use, after a long ride that overheated the motor, or if you live in an area where rust build up is a large problem.
To many people, especially those less experienced working on their own jet ski, this may seem like an issue that requires a jet ski mechanic or may seem like too overwhelming of damage on the jet ski. Similarly, it may be difficult to diagnose if you do not have experience with this issue.
However, there is a step by step process that will allow you to repair your seized jet ski engine.
How to free a seized jet ski engine?
First, you must determine whether the engine is truly seized or locked up, which will require removing the spark plugs. Next, you must lubricate the engine, with products such as WD-40 or PB Blaster. Finally, you must get the engine moving again through the use of pressure or force.
This final step can be carried out in multiple ways depending on the tools that you have available. As with any jet ski repair, this may vary slightly between different types of jet skis and not all steps listed below will be applicable to every jet ski, however, this will provide a general guideline of how to free a seized jet ski engine.
First Step: Identifying If your Jet Ski Engine is Seized
First, to tell if your engine is seized your initial instinct may be to crank the engine with the starter. However, experience jet skiers and mechanics who have frequently dealt with this issue strongly advise against this course of action because it can actually result in further damage to your jet ski engine.
In order to avoid this damage, if you suspect your jet ski engine may be seized, you should immediately stop cranking the engine and go to the testing outlined steps below.
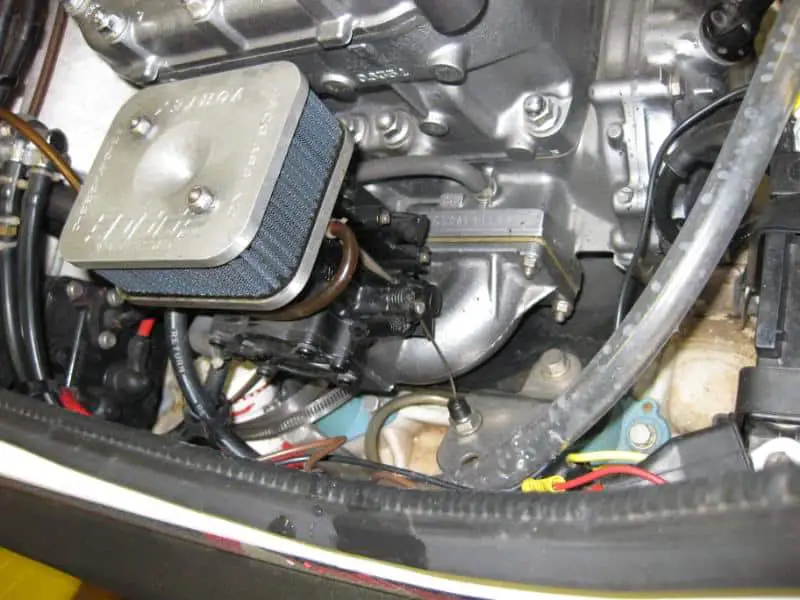
The proper way to tell if your jet ski engine is seized or locked is to first remove the spark plugs from your jet ski. Both the spark plugs and wires should be fairly easy to remove with a socket wrench and a spark plug socket.
If you have issues removing them it may suggest that there is a larger rust problem in your jet ski. Try spraying a penetrating spray to help loosen the bond. Repeat this step for all cylinders.
In some jet skis, this may also require you to remove the connector, situated directly next to the spark plugs and coils, as well. Next, you should get a long tool that fits into the hole where the spark plugs and coils previously were, the cylinder. One good example of a tool for this is a screwdriver or socket extension. The screwdriver should be long enough that it can be placed into the cylinder with enough left to be able to move the piston. You will then place this in all of the cylinders to see how far in it goes, don’t be concerned if it doesn’t go in equally far to all of the cylinders, as that is expected due to the different angles of each cylinder.
Then start with one cylinder and place the tool inside, leave it so that it is just resting on top of the cylinder head. On a naturally asperated or turbo jet ski, take vice grips and hook them to the driveshaft. Then turn the driveshaft and see if the tool moves up and down.
If you have a supercharged jet ski, follow these instructions: While the screwdriver is this is in place, take vice grips and remove the hose from the front of the supercharger fan, then loosen the grommet and place the vice grip in that area. On most jet skis the plastic tab can be slid out of the way to place the vice grip. This placement may be the most difficult part of checking to see if your engine is seized and it may require some trial and error to get the placement exactly right. Ultimately your goal is to be able to move the vice grip slightly back and forth to check the engine without turning the actual blades on your jet ski or boat. This will allow you to take apart less of the jet ski and still test to see if the engine is seized.
If your engine is not seized, and you have the placement correct, you should see the tool or screwdriver move back and forth in the cylinder as you move the vice grip. If your engine is seized the tool or screwdriver will not move. While it is unlikely that one cylinder will work and the other two won’t, you should be sure to test this in all cylinders as it may be an indicator that there are other issues such as a cracked piston rod. Don’t be alarmed if the movement in the shallowest cylinder is less pronounced than in the other two, this is typically the case.
This is not necessarily the most traditional method to checking if your engine is seized, however it is a method that will require you to take apart less of your jet ski.
Step 2: Lubricating the Seized Jet Ski Engine
Freeing a seized jet ski engine is very similar to freeing a seized engine of other vehicle types in that you first must provide some source of lubrication to the seized engine before applying any force or pressure to free it.
In most cases, this lubrication will need to sit on the engine for some time to penetrate, it may not get free instantly. While there are numerous products on the market to lubricate a seized jet ski engine, the most recommended product is actually much less specialized.
Most at-home jet ski mechanics recommend using WD-40 to unseize a jet ski engine. However, an alternative to the use of WD-40 is to use PB Blaster. Additionally, both of these products are fairly easy to find and are sold in both hardware stores and more traditional superstores such as Walmart.
When you have all of the cylinders open, as you did to check if the jet ski engine was seized in the previous step, you should put WD-40 or PB blaster into the cylinders to attempt to break loose the blockage or stuck portion.
However, as with all steps when working on your jet ski engine, you do not want to be too forceful or take any actions that could result in worse or permanent damage to your jet ski. In order to limit this need to be forceful apply the lubricating product, WD-40 or PB Blaster, generously to each cylinder. Once you have lubricated all cylinders with WD-40 you should let it sit for around twenty-four hours so that it has time to properly soak into the engine and lubricate it. Letting it sit for this extended period will make the next step much less difficult.
After twenty-four hours, you should return with the tool that you had previously used, potentially an extended screwdriver, and test it in all three cylinders again. If the screwdriver once again does not move, you will need to complete additional steps.
Freeing a Siezed Engine that Won’t Move
For this step, you should test your tool such as a socket extension, or screwdriver, in all cylinders to find the one that it goes into a medium depth. You cannot perform this step on the cylinder that it goes into the shallowest depth because you will not be able to push hard enough to free the seized engine. Similarly, you should not perform this step on the deepest cylinder because it may push in, or free, this cylinder without freeing the others which once again could result in damage to the piston rods within the engine.
Once you have located the correct cylinder you should insert the screwdriver or tool in as far as it will go. Then, attempting to line it up so that it goes in as deep as possible you will need to apply force to free the seized jet ski engine.
There are two ways to apply this force. The first of these ways, and perhaps the gentler option is to press down on the tool. The second, and often more forceful way is to place the screwdriver or tool into the cylinder and gently tap it with a hammer. If you choose this option, you should start lightly and begin to tap harder testing as you previously did every so often so that you don’t apply more force than is necessary.
Alternate Method
Using a long or extended screwdriver and a hammer may be a more convenient method to free seized jet ski engines because the tool will have already been used to test if your engine is seized, however, it is not the only method available. For this alternative method, you can follow the previously listed steps for lubrication then deviate from the final, or freeing step. For this alternate step, you will need to craft a plug from wood that is sturdy enough it will not break such as a dowel. This plug should fit properly into the piston without getting stuck inside the cylinder at any point.
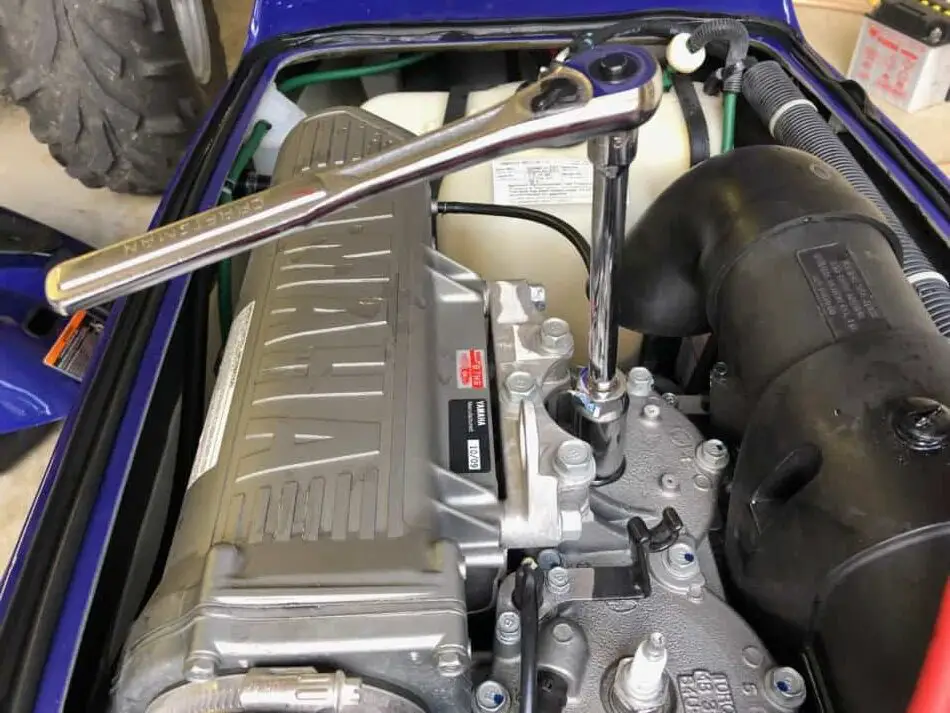
Next, you will need a mallet or hammer and a pipe wrench. You should place the pipe wrench onto the driveshaft and leads to the impeller. Then you will need to figure out what the proper rotating direction is. The easiest way to tell the proper rotating direction is to look at the impeller.
While rotating the wrench in the proper direction you should gently tap on the plug with the mallet. You may need assistance in this step as it is important that it be rotated and tapped with the mallet at the same time. Unlike in the other method listed above, you should not just do this to one piston or in one cylinder, you should alternate between cylinders as you rotate and tap. This should quickly free your seized jet ski engine.
Potential Damage While Freeing a Seized Jet Ski Engine
The most significant damage that may occur in attempting to repair a seized engine is damage to the pistons. This damage may occur if you are too forceful when placing or using your tool inside of the cylinders. Due to this, you should avoid shoving the screwdriver or tool forceful into the cylinders in both the testing and the repair steps. Similarly, you should be careful not to hit too hard if you are using a hammer to repair the seized jet ski engine.
How to Prevent a Seized Jet Ski Engine
Now that you have successfully freed your seized jet ski engine it is important to consider taking preventative or precautionary measures so that the jet ski engine does not once again become locked. If your jet ski engine repeatedly seizes or locks up or repeatedly has to be freed, it may cause additional wear or damage to the pistons, so it is always best to take preventative steps.
One simple and extremely effective preventative step to stop your jet ski engine from becoming locked up is to start or run your jet ski every so often, even in times when you don’t plan to ride it. This gets the engine working and helps it not to get stuck.
Similarly, you want to keep your jet ski protected from the elements because rust on the engine will leave you with a seized jet ski engine. Overall it is important to look into these protective or preventative methods in order to better protect your jet ski moving forward.
The use of fogging oil when you will not be riding or even a spoonful of oil in the cylinders can help keep them lubricated and prevent further seizure.
Conclusion
In conclusion, there are multiple ways that you can free a seized jet ski engine. No matter the method of freeing the seized engine that you choose to use, you should first begin by testing to ensure that your engine is truly seized and that it is not one of many other issues that can occur with jet ski engines.
If you do determine that your engine is seized, you will need to properly lubricate it and then use some pressure or force to free the engine. The most important thing is to be careful not to damage the pistons. However, if you are careful about the amount of force that you use and follow the steps above you should be able to successfully unseize your jet ski engine.
Good luck with your jet ski repairs!
