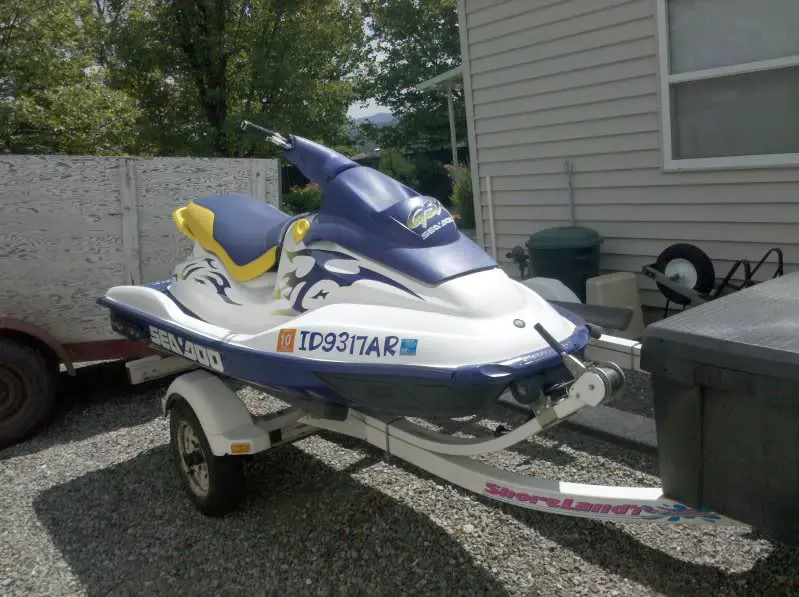
Every wave runner should be winterized even if the unit does not run. If it ran that season and there was a problem you would like to diagnose the next spring, you will want to winterize it so no further damage occurs.
How to winterize a jet ski that won’t start?
To winterize a jet ski that won’t start, first remove the spark plugs and spray fogging oil. Next use gravity to force RV antifreeze into the cooling system. After that, spray fogging oil in the carburetor and move the PTO driveshaft. After this is complete, replace the spark plugs and you have a winterized ski.
There are two types of skis when it comes to winterizing, ones that are totally broken and won’t crank at all, and ones that will crank, but not start. This guide will take you through winterizing your jet ski either way to the best of your ability.
The specific steps to winterize a dead jet ski are listed below, for our full guide, read our comprehensive winterizing article.
The goal of winterizing your ski is to remove all water that could freeze in the motor, stabilize the fuel, as well as give the motor extra protection with oil for the months it will be sitting. There are two guides for both types of problems a ski could have while trying to winterize below:
How to Winterize a Jet Ski that Cranks but Won’t Start
If you can crank your ski with your battery, you are in better luck than if you can’t. Follow the steps below to winterize your ski:
1. Remove water:
In this step, you will want to remove as much water as possible. This can help by cranking your engine to remove water that is in the system, or by using an air compressor to push water through from the exit nozzle or your freshwater flush hookup. You will never want to use excessive psi while doing this, just start with a small amount. Gravity can be your friend depending on the ski, so nose up or down may help.
2. Fill RV Antifreeze:
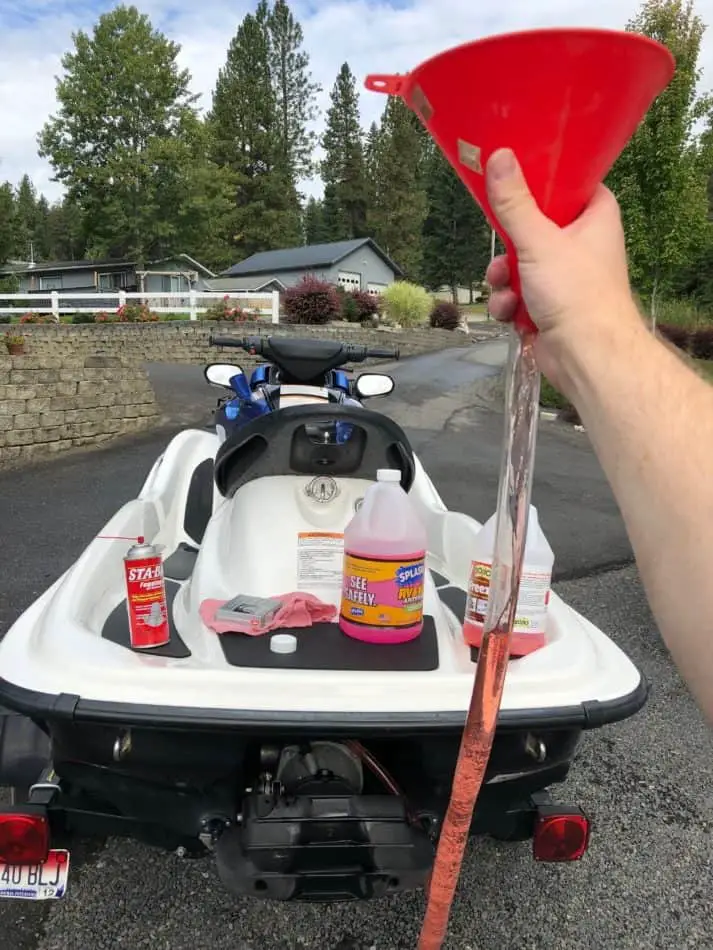
Some wave runners will have a dedicated spot to add RV antifreeze for winterizing, and some won’t. If yours does, hook a hose up to the connection with a funnel on the other end. Use gravity to fill the ski as much as you can and crank the motor to get water moving and more in. You may see the pink color of your RV antifreeze come out the bottom of the water exit nozzle, if you do you are done. If not, you may want to keep going.
If your jet ski does not have a built-in port, there should be a connection point in your motor to allow for freshwater flushing. You will have to have an adapter depending on your ski to hook up a hose, but do so and follow the same directions as above.
3. Fogging Oil:
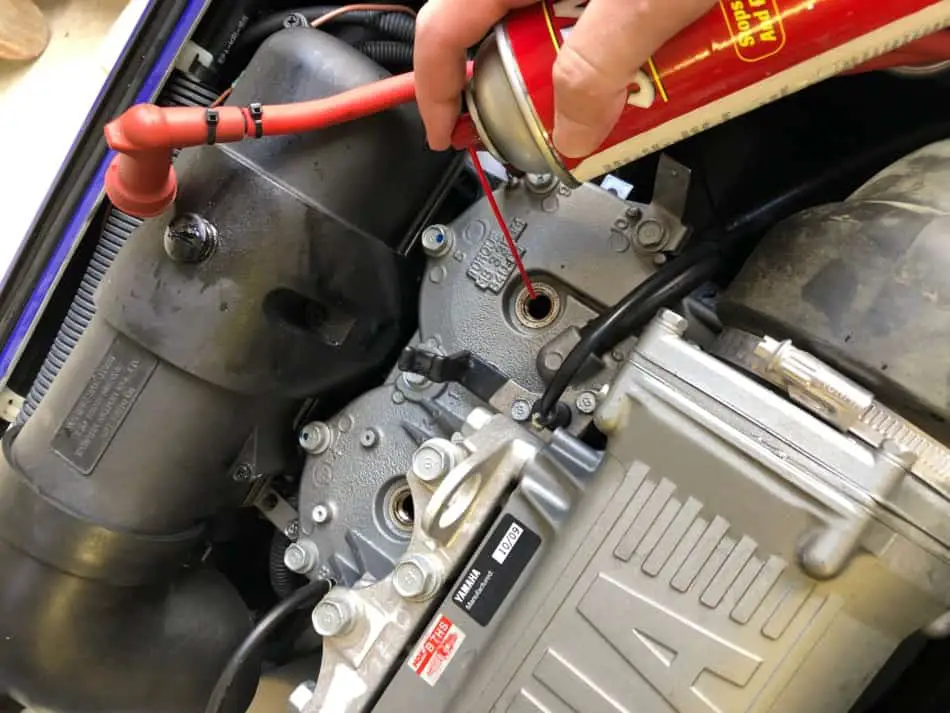
Fogging oil will protect your cylinders through a long storage season. First, you will need to remove the spark plugs. After removing them, spray fogging oil per the directions in each cylinder as well as through the carburetor. Next, replace the spark plugs and crank the motor. This will give some extra protection to the motor with lubrication throughout the winter season.
If your spark plug wires have grounding posts, make sure to use them while you are cranking as to not cause further damage.
4. Fuel Tank:
You will want to add a stabilizer to your fuel tank per the directions to prolong the life of your fuel and prevent gumming. This will not give you protection through your fuel lines and carburetor as the ski is not running, but it will help for starting the next year.
How to Winterize if your Jet Ski Doesn’t Crank
If your jet ski does not crank, winterizing will be an extra step.
1. Remove Water:
To remove water in a ski that won’t crank, you can try tipping it on your trailer nose high or low to see if it runs out. Next, you can use some compressed air in your water inlet or outlet to lightly push air out of the system. Do this the best that you can.
2. RV Antifreeze:

Use your water inlet hose if you have one, or your freshwater flush hose to hook up a hose and a funnel. Next, fill the funnel with RV antifreeze and let gravity go to work. Do this until the water coming out is the pink color of the antifreeze.
You can use the assistance of your air compressor once again to push the antifreeze through the system and fill the funnel again.
3. Crank the Motor
To manually crank your motor, remove the spark plugs and turn the PTO driveshaft by hand or with some pliers. This will get the motor moving to distribute the antifreeze.
The driveshaft may have a cover that needs to be removed by two wing nuts. Typically the driveshaft is very low in the ski and is what connects the engine to the impeller. Make sure if you are turning by hand, you don’t force anything, it should spin freely.
If your motor does not spin freely with some force, you may have a damaged crankshaft, piston, or something internal from preventing it turning so you wouldn’t want to damage anything further.
4. Use Fogging Oil:
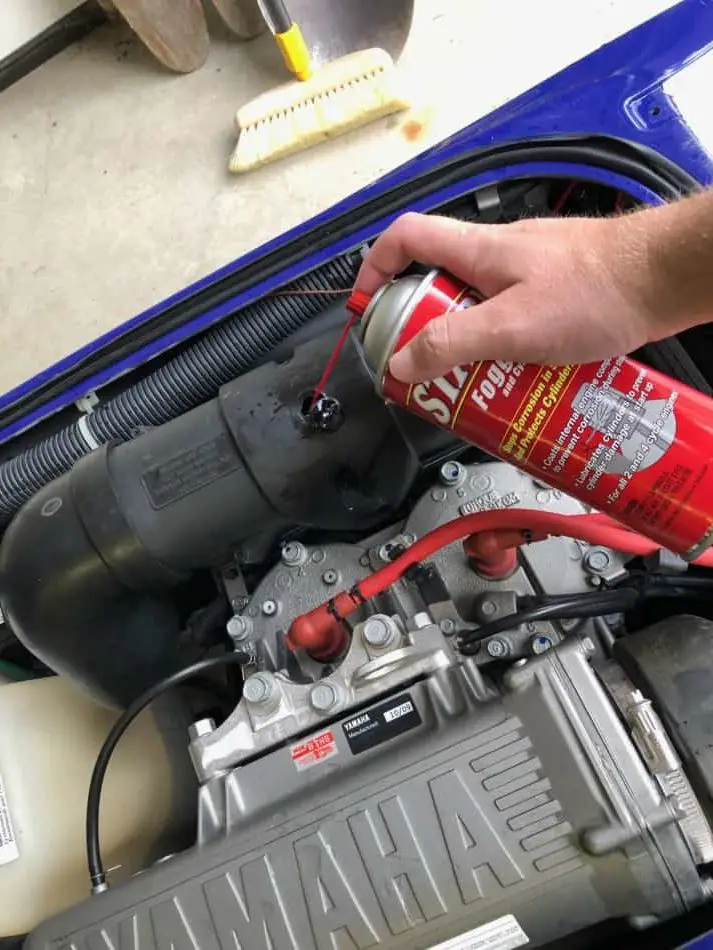
With the spark plugs removed from the previous step, spray a generous amount of fogging oil in the cylinders as well as the carburetors. Next, manually crank the ski by hand with some pliers rotating the PTO shaft to distribute the oil along the cylinders. Once this is complete, replace the spark plugs in the motor.
Fogging oil protects the cylinders from seizing over the long break from using. It is important you always use fogging oil to protect your motor.
5. Fuel:
To protect your fuel, do the same as above by adding a fuel stabilizer to your fuel tank and sloshing it around. This will provide some protection, but as you are not running it through your fuel system and carbs, they may be prone to gum up.
The last thing we want is a jet ski that doesn’t run or even crank, this is a bad thing to go into winter with as it can cause further problems. Always make surer you winterize your ski whether it is dead or not to further prevent any damage.
